Motherboard Rack
Here is something that I had been working on for a while. I have always had computers that I previously used for anything, mostly for testing programs and webservers. But I always had several cases of computers. I had the idea of putting them together and make a big computer case that can hold more than one motherboard. After seeing this video of Facebook Compute Node I decided to do something similar to my own motherboards.
With this in mind I went cheap on this build. I had two motherboards and a motherboard from a laptop that the hinge broke and the whole case broke.
Here I have the board to witch I attached the motherboard of the laptop. I placed some stand off screws to make sure there was some airflow between the cpu and the other parts of the motherboard, and to secure the motherboard to the tray.
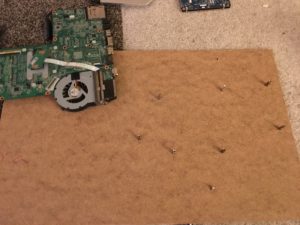
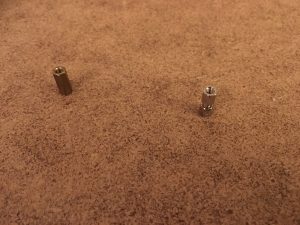
This are the standoff’s that I used. I had 4 taller screws but I had to put two of the smaller ones together to make a taller standoff. The CPU and memory where in the way, so I had to make sure I leave room for them. I tried to make sure there was enough room to have some airflow for the heat generated by the smaller components.
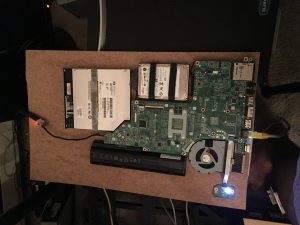
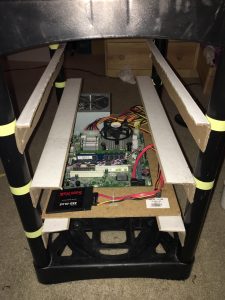
Here I have the motherboard attached to the tray, I went and glued some velcro straps to the tray to attach the hard drive and the CD drive. The battery stays attached on its own. This is an intel i3 motherboard I am planing on using this for some virtual machines, if the hardware works ok with virtualization.

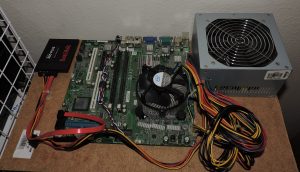
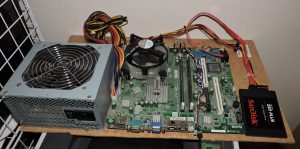
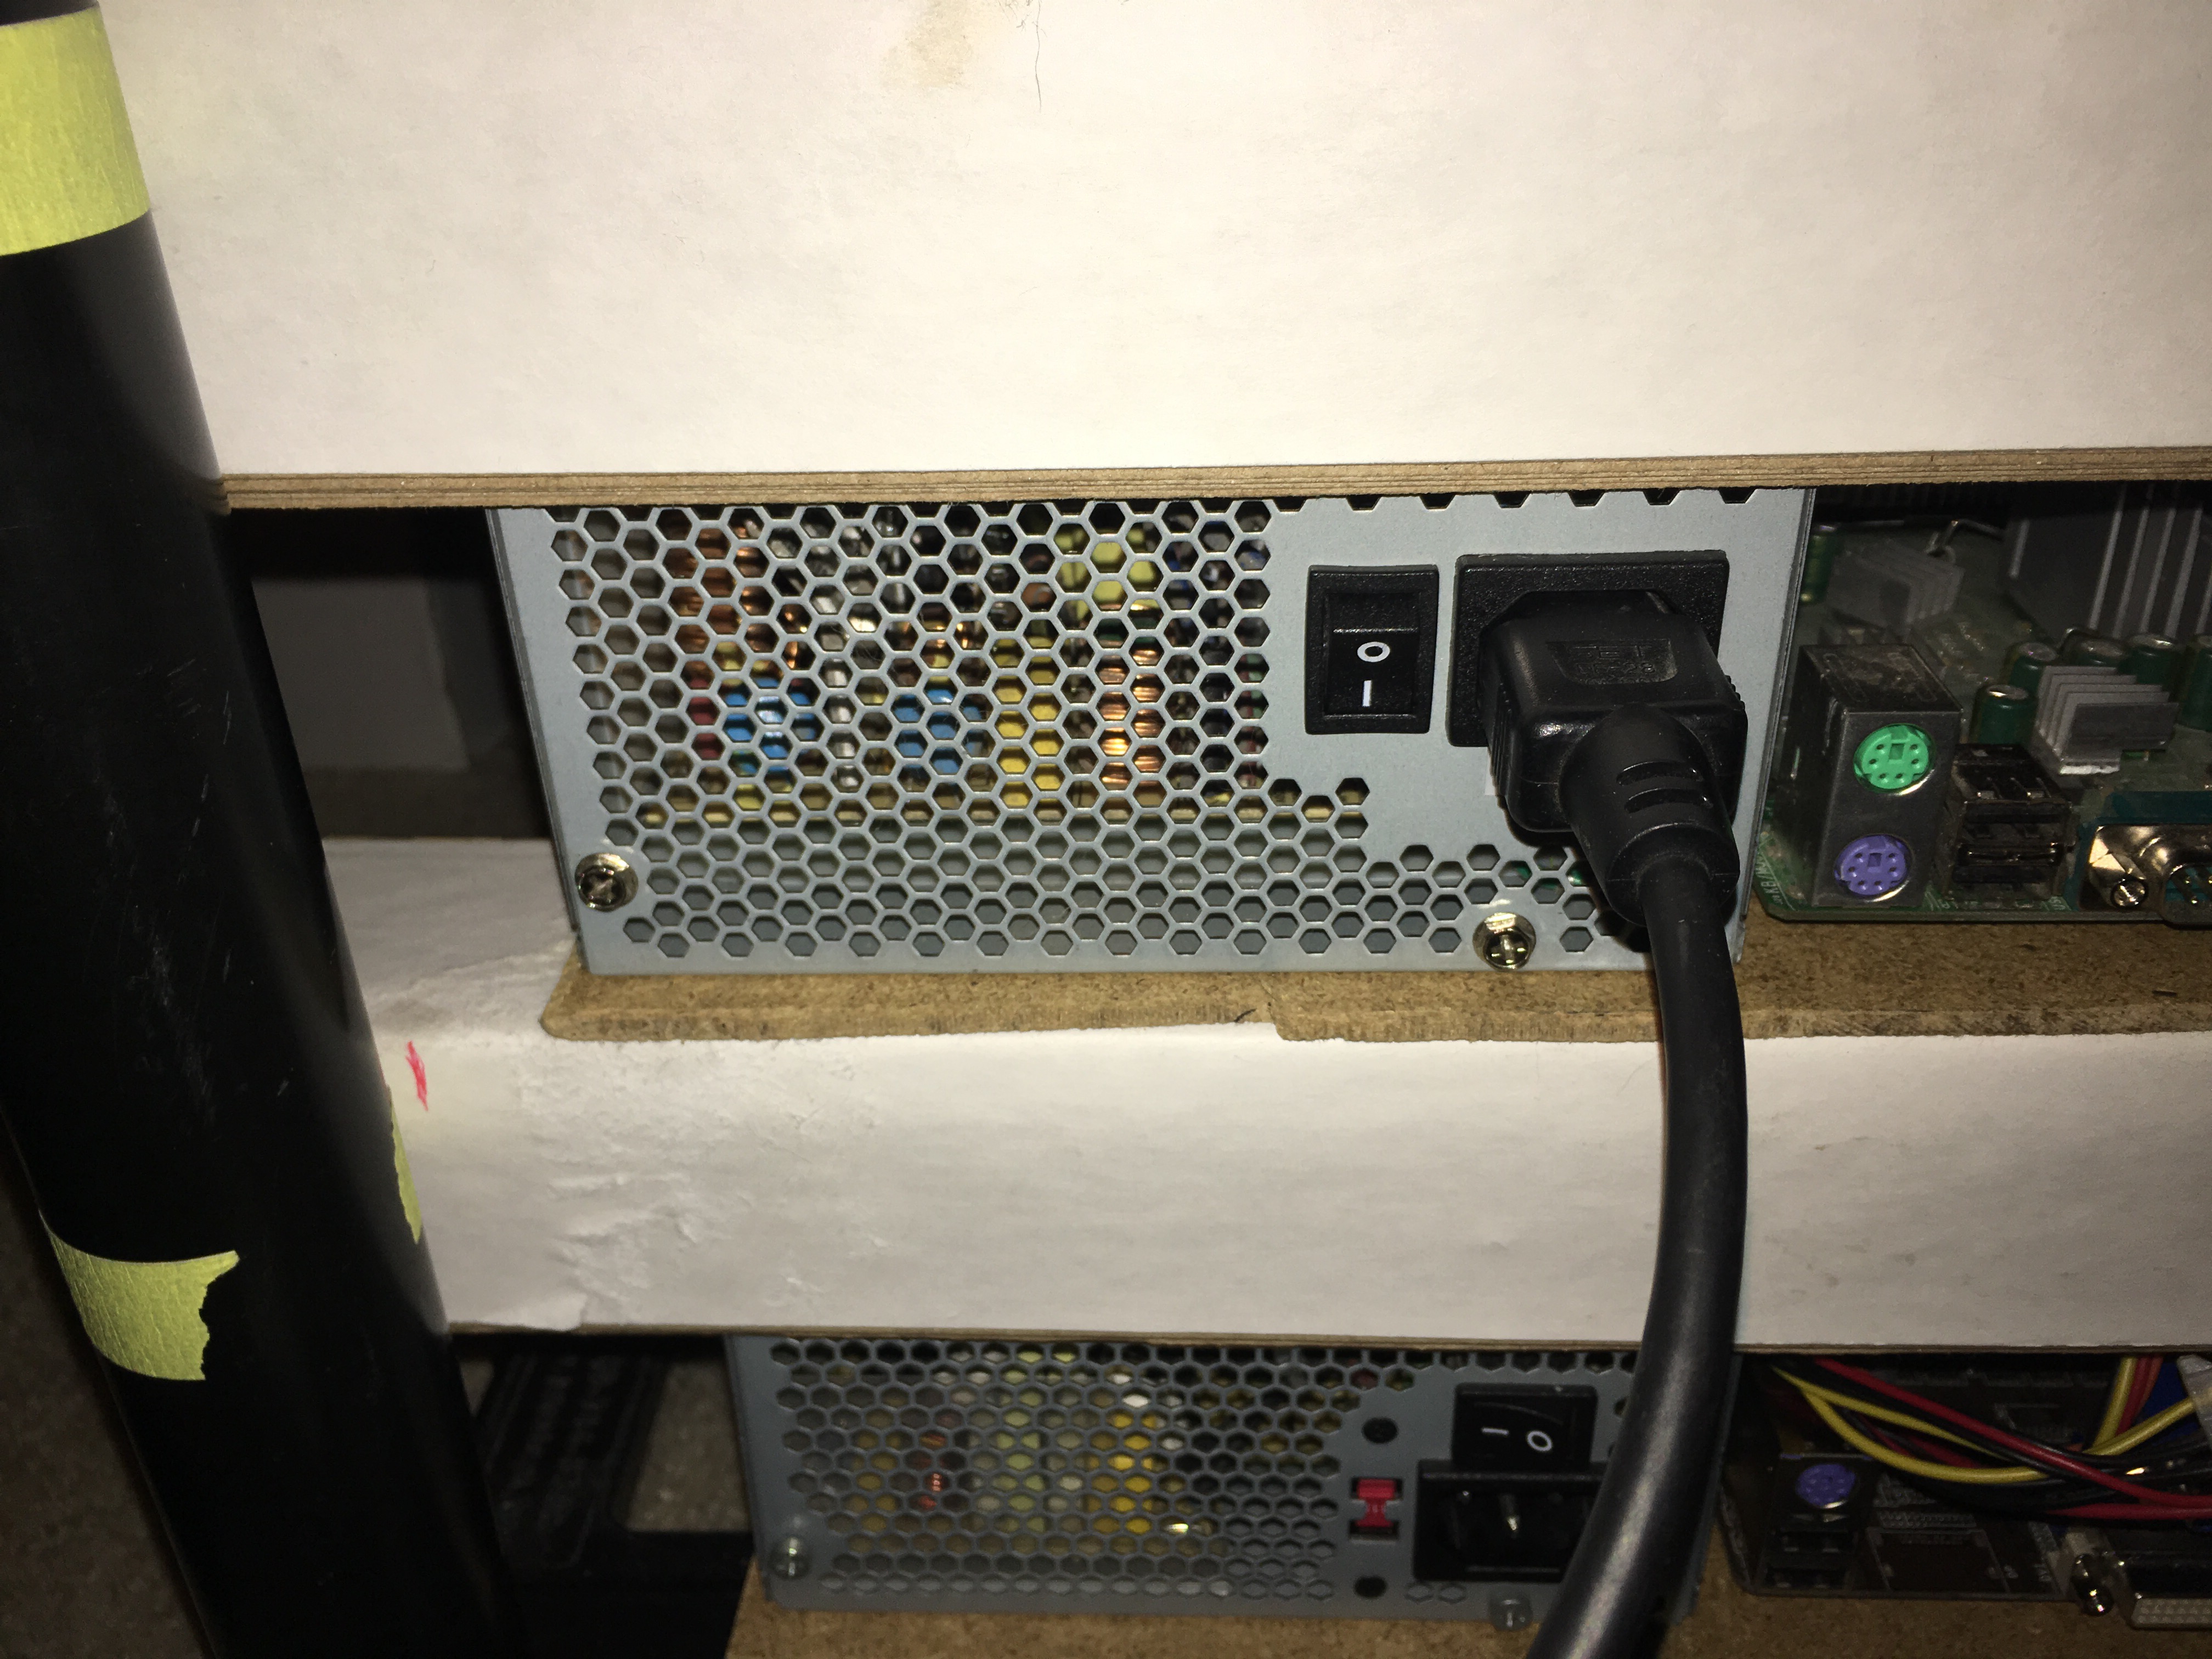
Here I have another motherboard, this one is a regular desktop motherboard. This one has smaller standoff screws, regular computer case standoff screws. I went and super glued the power supply to the board since I was not going to change anything in this setup. Finally the SSD is held by the cable tie, that I glued to the board.
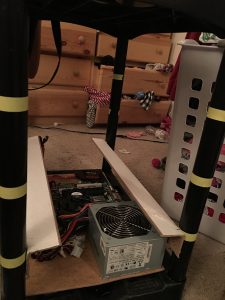
Finally where everything will come together, this rack used to be a water bottle rack but now is a computer rack.
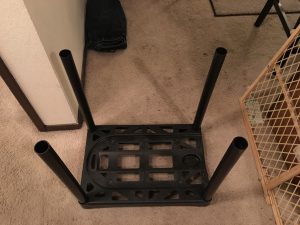
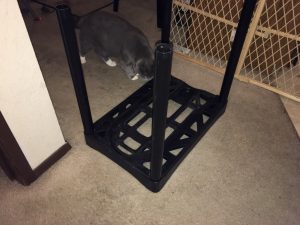
After I measured about 5 inches for each slot, I went and placed corner boards to hold the motherboards in place.
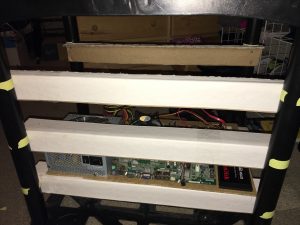
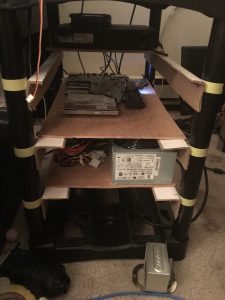

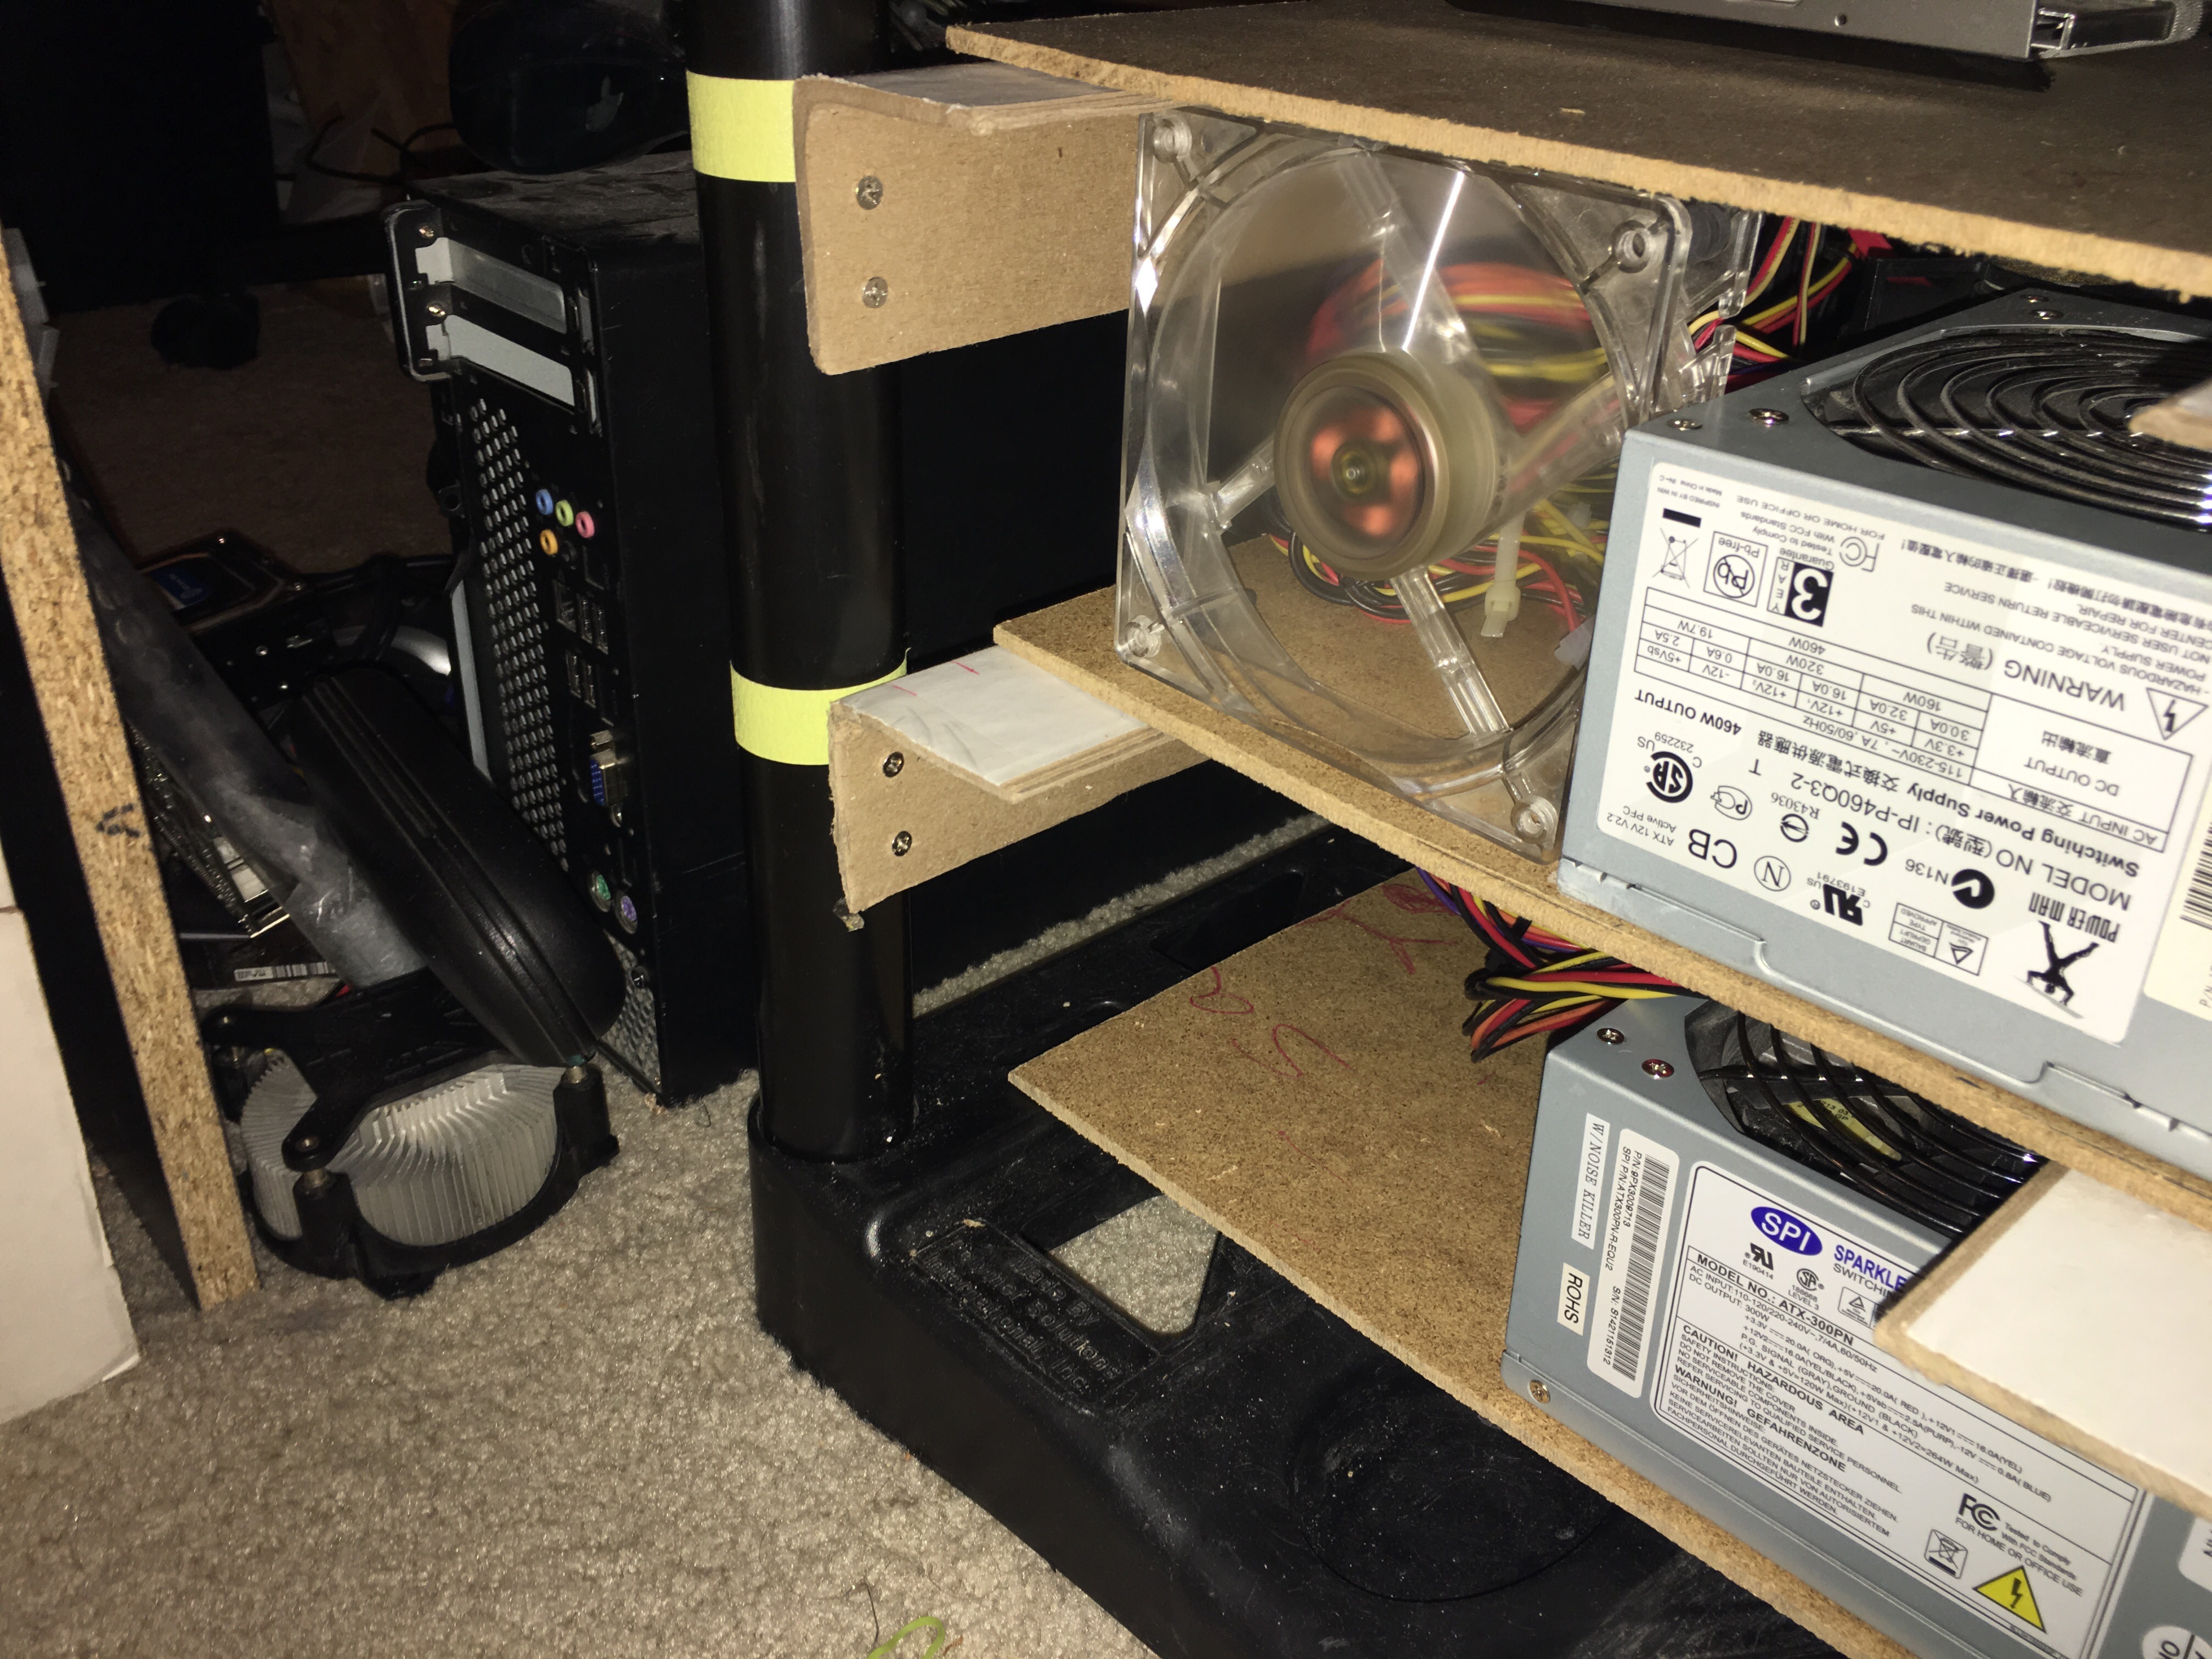
The main idea was to group all those motherboards together and have them in one place. The corner boards do look bad, but they are really cheap and work ok. I would like to change them with something that takes less space, I tried to cut them down, but didn’t really made a difference. Another thing I want to change is the trays where the motherboards are attached to. I would change them to acrylic boards. Then I would be able to connect the activity LED to one side and make the entire tray lid up.
This is what I did with my motherboards, with inspiration from Facebook compute node.
Ideas or comments are welcome.
Comments
So empty here ... leave a comment!